How Can We Help?
Menus
Overview
Go to Content > Menus. From here, you can add or remove items from existing menus. The locations of these menus on the front-end will depend on your theme, but you can assign which menus are associated with each location.
Menu Structure
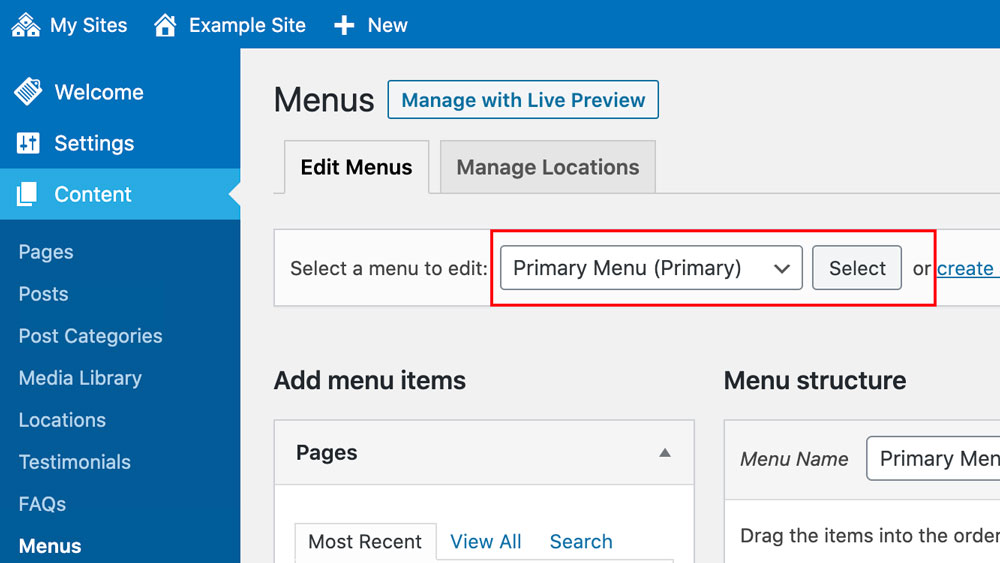
Select the menu you want to edit from the top-left dropdown.
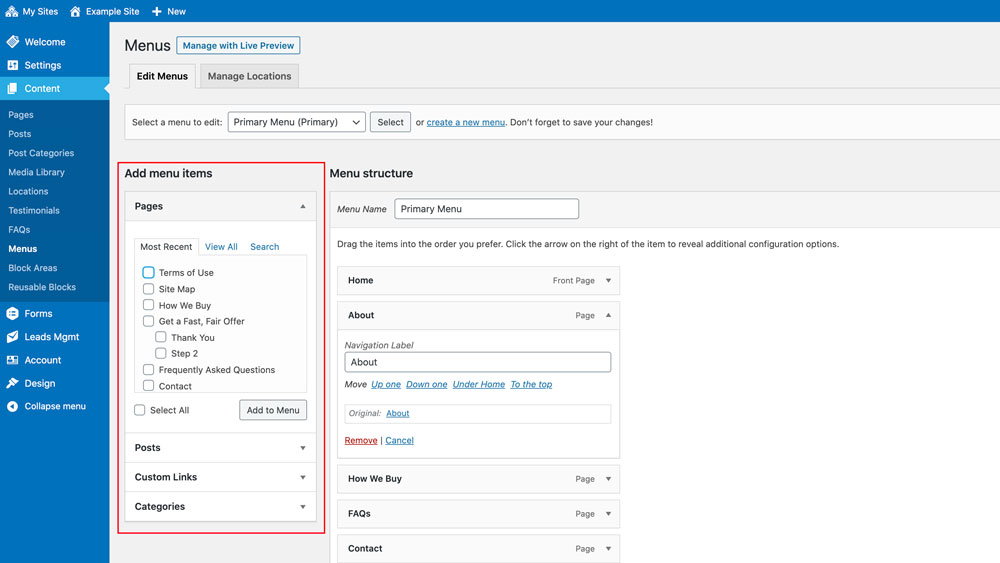
Add menu items
Under the “Add menu items” panel, select the menu items you want to add to your menu. You can also add custom links to pages outside of your website. Click the “Add to menu” button. Click the “Save Menu” button
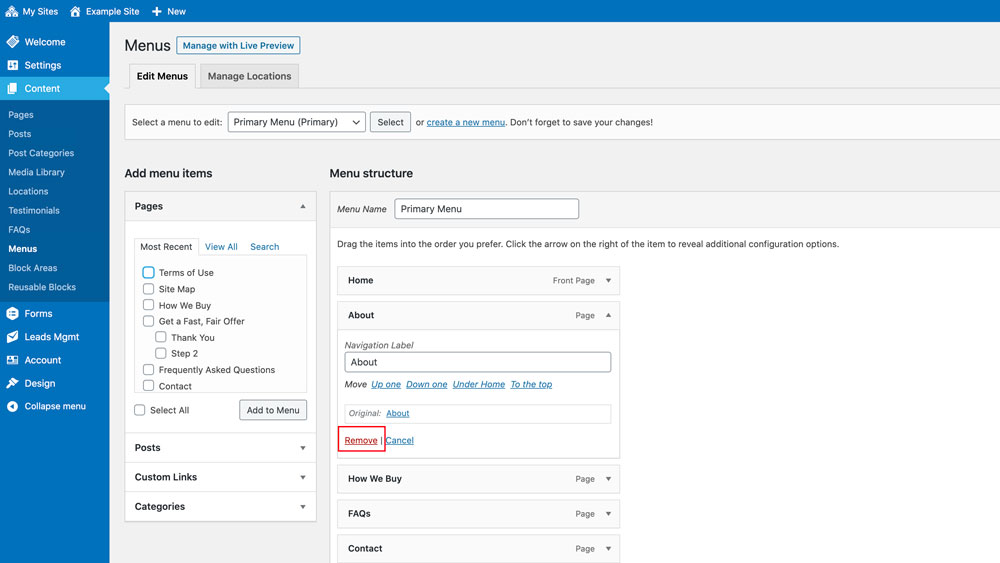
Remove menu items
Under the “Menu Structure” panel, click on the menu item you want to remove. Click “Remove”. Click the “Save Menu” button
Rearrange menu items
To rearrange, simply drag and drop your menu items. You can inset a menu item by dropping it underneath another menu item. Click the “Save Menu” button. NOTE: Current themes do not support inset menu items, so you should only move your menu items to a top level setting for now.
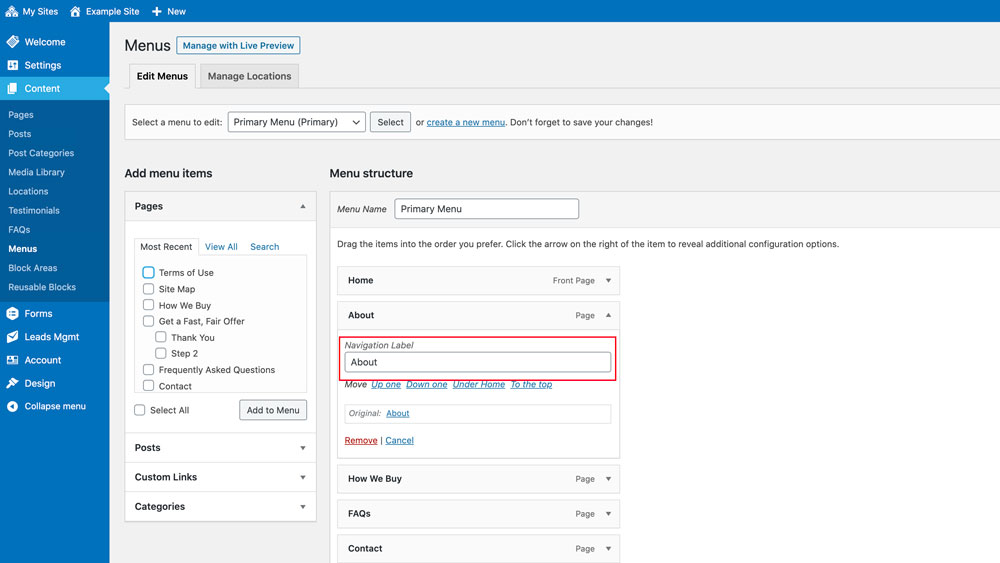
Change menu item text
If you want the text of a menu item to be different from it’s official page title, it’s very easy to do. Example: You want the Frequently Asked Questions page to show up as FAQs in the menu. Under the “Menu Structure” panel, click on the menu item you want to edit. Change the text in “Navigation Label” field. Click the “Save Menu” button
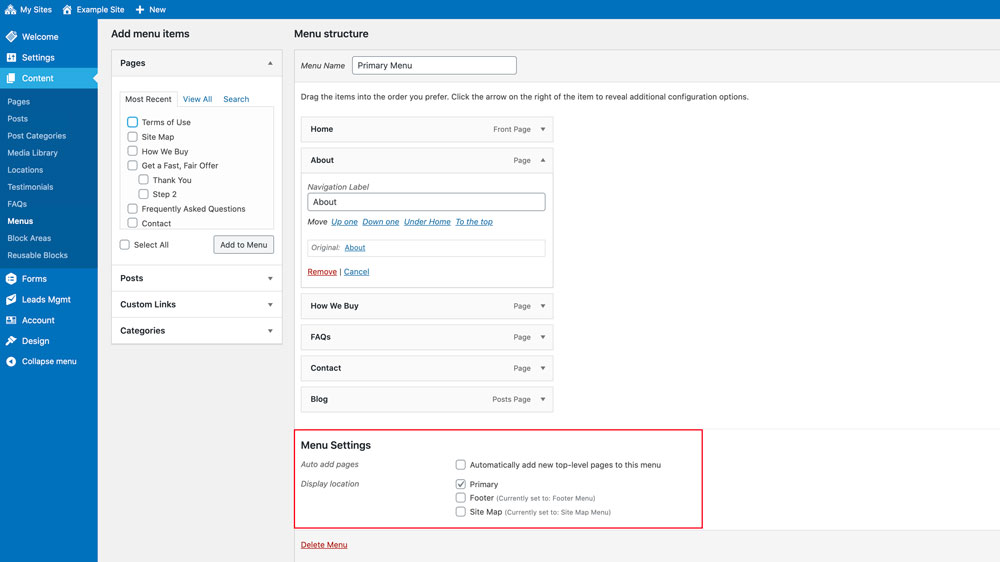
Menu Display Locations
By default, your theme will have three menu display locations: Primary, Footer, and Site Map. You can assign any menu to any display location, including assigning one menu to all three display locations so they’re all the same, if that’s what you choose.
Assign a menu to a display location
Select a menu from the top left dropdown. Under Menu Settings, check any display location that the menu should be displayed in. Click the “Save Menu” button By default, there is a unique menu for each display location with matching naming.